
修復 Windows 安裝程序訪問被拒絕錯誤
已發表: 2018-02-27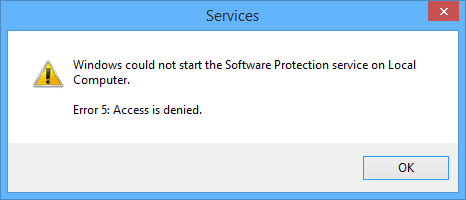
修復 Windows Installer 訪問被拒絕錯誤:如果您在嘗試在 Windows 10 上安裝新程序時遇到錯誤消息“訪問被拒絕”,或者如果您遇到 Msiexec.exe 訪問被拒絕錯誤,那麼您今天來對地方了我們將解決這個問題。 該錯誤的主要原因似乎是 Windows Installer 文件損壞或損壞。
當您嘗試從 Windows 10 安裝或卸載程序時,您可能會收到以下任一警告消息:
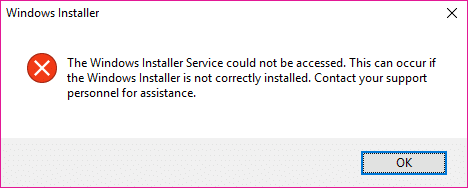
無法訪問 Windows Installer 服務
無法啟動 Windows Installer 服務
無法在本地計算機上啟動 Windows Installer 服務。 錯誤 5:訪問被拒絕。
為了解決此問題的根本原因,我們需要重新註冊 Windows Installer 文件,或者有時只需重新啟動 Windows Installer 服務似乎可以解決此問題。 因此,不要浪費任何時間,讓我們看看如何在下面列出的指南的幫助下實際修復 Windows Installer 訪問被拒絕錯誤。
內容
- 修復 Windows 安裝程序訪問被拒絕錯誤
- 方法一:重啟 Windows Installer 服務
- 方法二:重新註冊 Windows Installer
- 方法 3:重置 Windows Installer 服務
- 方法 4:重新安裝 Windows 安裝程序
修復 Windows 安裝程序訪問被拒絕錯誤
確保創建一個還原點,以防萬一出現問題。
方法一:重啟 Windows Installer 服務
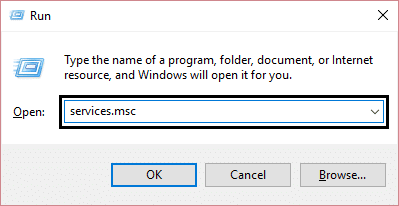
1.按 Windows 鍵 + R 然後鍵入services.msc並按 Enter。
2.找到Windows Installer 服務,然後右鍵單擊它並選擇屬性。
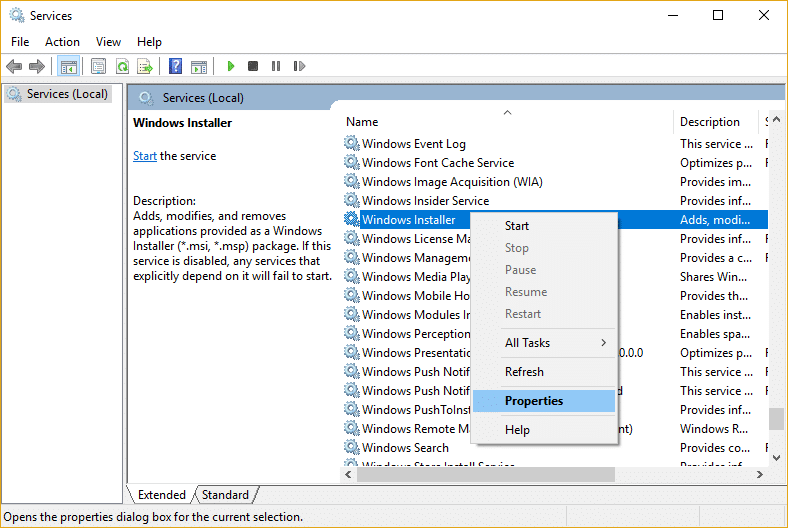
3.如果服務尚未運行,請單擊開始。

4.如果服務已經在運行,則右鍵單擊並選擇重新啟動。
5.再次嘗試安裝出現拒絕訪問錯誤的程序。
方法二:重新註冊 Windows Installer
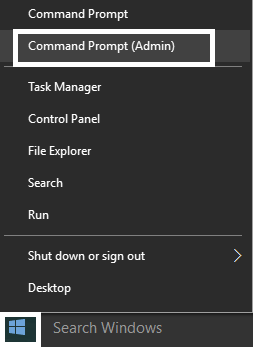
1.按 Windows 鍵 + X 然後選擇命令提示符(管理員)。
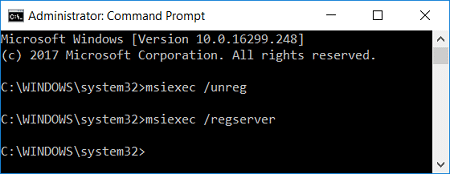
2.在cmd中輸入以下命令並回車:
msiexec / unreg
msiexec /regserver
3.重新啟動您的 PC 以保存更改。
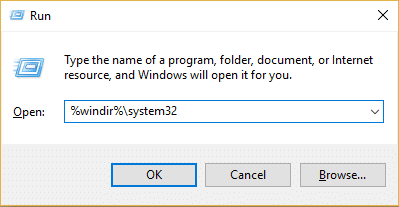
4.如果問題未解決,請按 Windows 鍵 + R,然後鍵入以下內容並按 Enter:
%windir%\system32
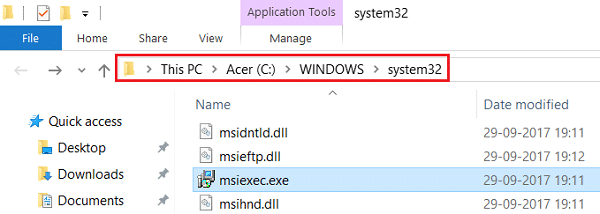
5.找到Msiexec.exe文件,然後記下文件的確切地址,如下所示:
C:\WINDOWS\system32\Msiexec.exe
6.按 Windows 鍵 + R 然後鍵入regedit並按 Enter 打開註冊表編輯器。
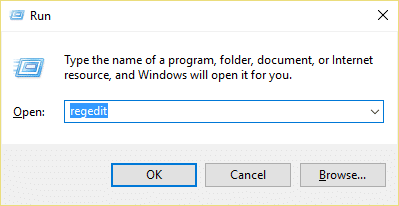
7.導航到以下註冊表項:
HKEY_LOCAL_MACHINE\SYSTEM\CurrentControlSet\Services\MSIServer
8.選擇MSIServer ,然後在右側窗格中雙擊ImagePath。
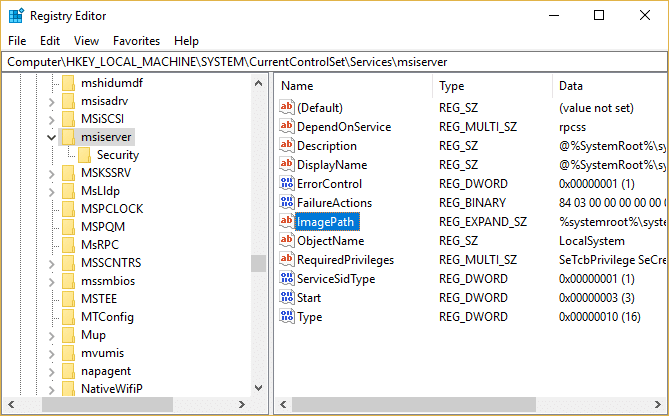
9.現在在值數據字段中鍵入您上面提到的 Msiexec.exe 文件的位置,後跟“/V”,整個事情看起來像:
C:\WINDOWS\system32\Msiexec.exe /V

10. 使用此處列出的任何方法將您的 PC 引導至安全模式。
11.按 Windows 鍵 + X,然後選擇命令提示符(管理員)。
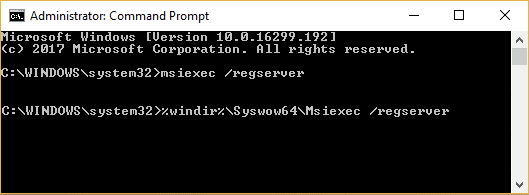
12.鍵入以下命令並按 Enter:
msiexec /regserver
%windir%\Syswow64\Msiexec /regserver
13.關閉一切並正常啟動您的PC。 查看您是否能夠修復 Windows Installer Access Denied Error ,如果不能,則繼續下一個方法。
方法 3:重置 Windows Installer 服務
1.打開記事本,然後按原樣複製並粘貼以下內容:

 Windows 註冊表編輯器版本 5.00

[HKEY_LOCAL_MACHINE\SYSTEM\CurrentControlSet\Services\msiserver]
"DisplayName"="@%SystemRoot%\\system32\\msimsg.dll,-27"
"ImagePath"=hex(2):25,00,73,00,79,00,73,00,74,00,65,00,6d,00,72,00,6f,00,6f,00,\
74,00,25,00,5c,00,73,00,79,00,73,00,74,00,65,00,6d,00,33,00,32,00,5c,00,6d, \
00,73,00,69,00,65,00,78,00,65,00,63,00,20,00,2f,00,56,00,00,00
"說明"="@%SystemRoot%\\system32\\msimsg.dll,-32"
"對象名"="本地系統"
“錯誤控制”=dword:00000001
“開始”=dword:00000003
“類型”=dword:00000010
"DependOnService"=hex(7):72,00,70,00,63,00,73,00,73,00,00,00,00,00
"ServiceSidType"=dword:00000001
"RequiredPrivileges"=hex(7):53,00,65,00,54,00,63,00,62,00,50,00,72,00,69,00,76,\
00,69,00,6c,00,65,00,67,00,65,00,00,00,53,00,65,00,43,00,72,00,65,00,61,00, \
74,00,65,00,50,00,61,00,67,00,65,00,66,00,69,00,6c,00,65,00,50,00,72,00,69, \
00,76,00,69,00,6c,00,65,00,67,00,65,00,00,00,53,00,65,00,4c,00,6f,00,63,00, \
6b,00,4d,00,65,00,6d,00,6f,00,72,00,79,00,50,00,72,00,69,00,76,00,69,00,6c, \
00,65,00,67,00,65,00,00,00,53,00,65,00,49,00,6e,00,63,00,72,00,65,00,61,00, \
73,00,65,00,42,00,61,00,73,00,65,00,50,00,72,00,69,00,6f,00,72,00,69,00,74, \
00,79,00,50,00,72,00,69,00,76,00,69,00,6c,00,65,00,67,00,65,00,00,00,53,00, \
65,00,43,00,72,00,65,00,61,00,74,00,65,00,50,00,65,00,72,00,6d,00,61,00,6e, \
00,65,00,6e,00,74,00,50,00,72,00,69,00,76,00,69,00,6c,00,65,00,67,00,65,00, \
00,00,53,00,65,00,41,00,75,00,64,00,69,00,74,00,50,00,72,00,69,00,76,00,69, \
00,6c,00,65,00,67,00,65,00,00,00,53,00,65,00,53,00,65,00,63,00,75,00,72,00, \
69,00,74,00,79,00,50,00,72,00,69,00,76,00,69,00,6c,00,65,00,67,00,65,00,00, \
00,53,00,65,00,43,00,68,00,61,00,6e,00,67,00,65,00,4e,00,6f,00,74,00,69,00, \
66,00,79,00,50,00,72,00,69,00,76,00,69,00,6c,00,65,00,67,00,65,00,00,00,53, \
00,65,00,50,00,72,00,6f,00,66,00,69,00,6c,00,65,00,53,00,69,00,6e,00,67,00, \
6c,00,65,00,50,00,72,00,6f,00,63,00,65,00,73,00,73,00,50,00,72,00,69,00,76, \
00,69,00,6c,00,65,00,67,00,65,00,00,00,53,00,65,00,49,00,6d,00,70,00,65,00, \
72,00,73,00,6f,00,6e,00,61,00,74,00,65,00,50,00,72,00,69,00,76,00,69,00,6c, \
00,65,00,67,00,65,00,00,00,53,00,65,00,43,00,72,00,65,00,61,00,74,00,65,00, \
47,00,6c,00,6f,00,62,00,61,00,6c,00,50,00,72,00,69,00,76,00,69,00,6c,00,65, \
00,67,00,65,00,00,00,53,00,65,00,41,00,73,00,73,00,69,00,67,00,6e,00,50,00, \
72,00,69,00,6d,00,61,00,72,00,79,00,54,00,6f,00,6b,00,65,00,6e,00,50,00,72, \
00,69,00,76,00,69,00,6c,00,65,00,67,00,65,00,00,00,53,00,65,00,52,00,65,00, \
73,00,74,00,6f,00,72,00,65,00,50,00,72,00,69,00,76,00,69,00,6c,00,65,00,67, \
00,65,00,00,00,53,00,65,00,49,00,6e,00,63,00,72,00,65,00,61,00,73,00,65,00, \
51,00,75,00,6f,00,74,00,61,00,50,00,72,00,69,00,76,00,69,00,6c,00,65,00,67, \
00,65,00,00,00,53,00,65,00,53,00,68,00,75,00,74,00,64,00,6f,00,77,00,6e,00, \
50,00,72,00,69,00,76,00,69,00,6c,00,65,00,67,00,65,00,00,00,53,00,65,00,54, \
00,61,00,6b,00,65,00,4f,00,77,00,6e,00,65,00,72,00,73,00,68,00,69,00,70,00, \
50,00,72,00,69,00,76,00,69,00,6c,00,65,00,67,00,65,00,00,00,53,00,65,00,4c, \
00,6f,00,61,00,64,00,44,00,72,00,69,00,76,00,65,00,72,00,50,00,72,00,69,00, \
76,00,69,00,6c,00,65,00,67,00,65,00,00,00,00,00
"FailureActions"=十六進制:84,03,00,00,00,00,00,00,00,00,00,00,03,00,00,00,14,00,00,\
00,01,00,00,00,c0,d4,01,00,01,00,00,00,e0,93,04,00,00,00,00,00,00,00,00,00

[HKEY_LOCAL_MACHINE\SYSTEM\CurrentControlSet\Services\msiserver\Enum]
"0"="根\\LEGACY_MSISERVER\\0000"
“計數”=dword:00000001
“下一個實例”=dword:00000001
2.現在從記事本菜單中單擊文件,然後單擊另存為。
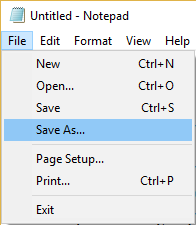
3.從保存類型下拉列表中選擇所有文件。
4.將文件命名為MSIrepair.reg (reg擴展非常重要)。
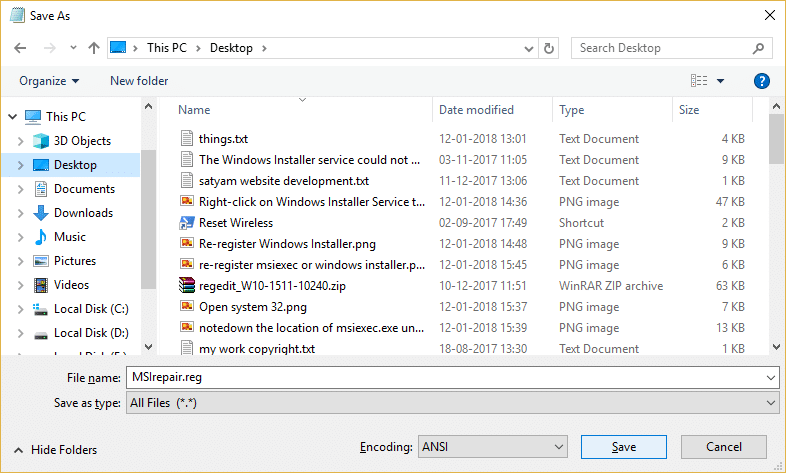
5.導航到桌面或要保存文件的位置,然後單擊保存。
6.現在右鍵單擊 MSI repair.reg 文件並選擇以管理員身份運行。
7.重新啟動您的 PC 以保存更改並查看您是否能夠修復 Windows 安裝程序訪問被拒絕錯誤。
方法 4:重新安裝 Windows 安裝程序
注意:僅適用於早期版本的 Windows
1.按 Windows 鍵 + X 然後選擇命令提示符(管理員)。
2.在cmd中輸入以下命令並在每個命令後按Enter:
 cd %windir%\system32
屬性 -r -s -h dllcache
ren msi.dll msi.old
任 msiexec.exe msiexec.old
任 msihnd.dll msihnd.old
出口
3.重新啟動您的 PC,然後從此處的 Microsoft 網站下載 Windows Installer 4.5 Redistributable。
4.安裝 Redistributable 包,然後重新啟動您的 PC。
受到推崇的:
- 刪除 Windows 10 中的管理工具
- 修復 Windows 10 中損壞的任務計劃程序
- 在 Windows 10 上更改關鍵電池電量
- 修復 ffmpeg.exe 已停止工作錯誤
就是這樣,您已成功修復 Windows 安裝程序訪問被拒絕錯誤,但如果您對本指南仍有任何疑問,請隨時在評論部分詢問。